
Todd Talbot’s DIY Window Box – Step by Step Instructions & Materials
How To Guide: Window Planter Box – The Perfect DIY Addition to Your New Window by Vancouver’s Own Love It or List It Star Todd Talbot
I’ve been using this quarantine time to tackle projects on my wish list of our East Vancouver cottage. Last year I had my windows replaced by the team over at Long Life Windows & Doors. We’ve been most impressed with how much quieter it is in our house not to mention the curb appeal they added!
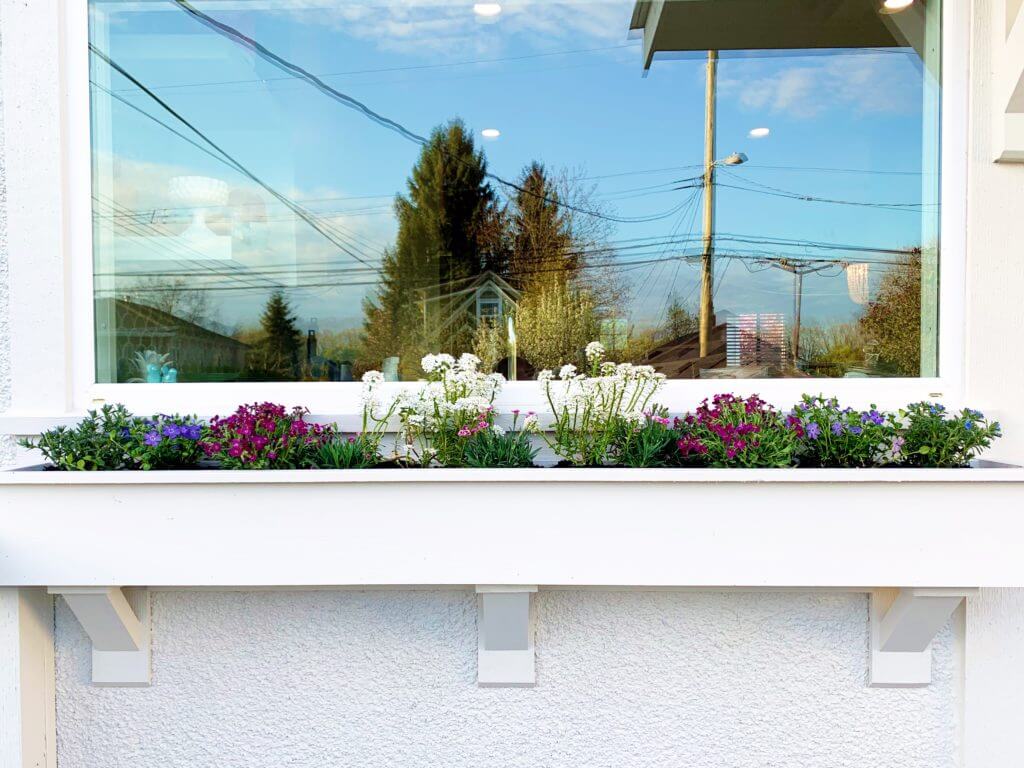
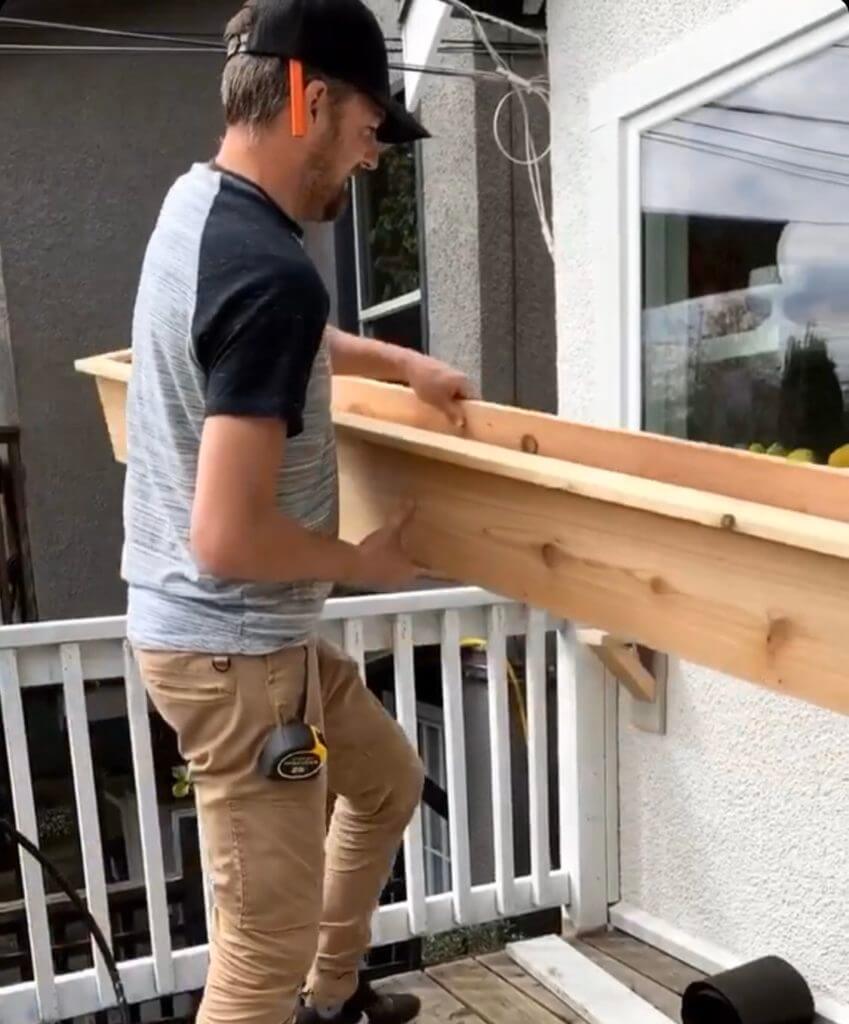
Our upgraded kitchen window faces out onto our deck, and with the white window,white wood trims and white stucco it felt like the perfect canvas for a custom built window box planter. I chose to match the architecture of our renovated cottage with the shape, brackets and colour – but you can take it in so many directions to add a welcoming personality to the outside of your home.
Below is my step by step how to guide, along with the materials and tools you’ll need for the project!
First I’d recommend installing the window box underneath either a picture window (meaning it is fixed and does not open) or a slider window (a window that slides side to side or up and down) — it doesn’t work too well in front of a swing out casement window as the flowers will get in the way of opening the window.
For the structure of the window box, make sure to use materials like cedar that will hold up to weather and water over time. Don’t invest your time and energy on something that won’t last.
Before heading out to Home Depot (or your favourite hardware store) make sure you figure out the dimensions of the window box you want to build. I suggest measuring 2-3” past the frame of the window on each side to get your length.
Window Box Materials:
- Cedar boards
- I used 1×8 cedar boards for the front, back, bottom and ends
- 2×2 cedar for internal structure in the 4 corners for extra strength
- 1×4 for the top trim
Tools Needed to Construct the Window Box:
- Measuring tape
- Level
- Drill
- Impact driver
- Mitre saw (or skill saw)
- Wood glue
- Screws or nail gun
- Table saw (if you want to change the dimension of any of the wood to make the sizing custom)
- Knee Braces or L Brackets
How To Assemble The Window Box:
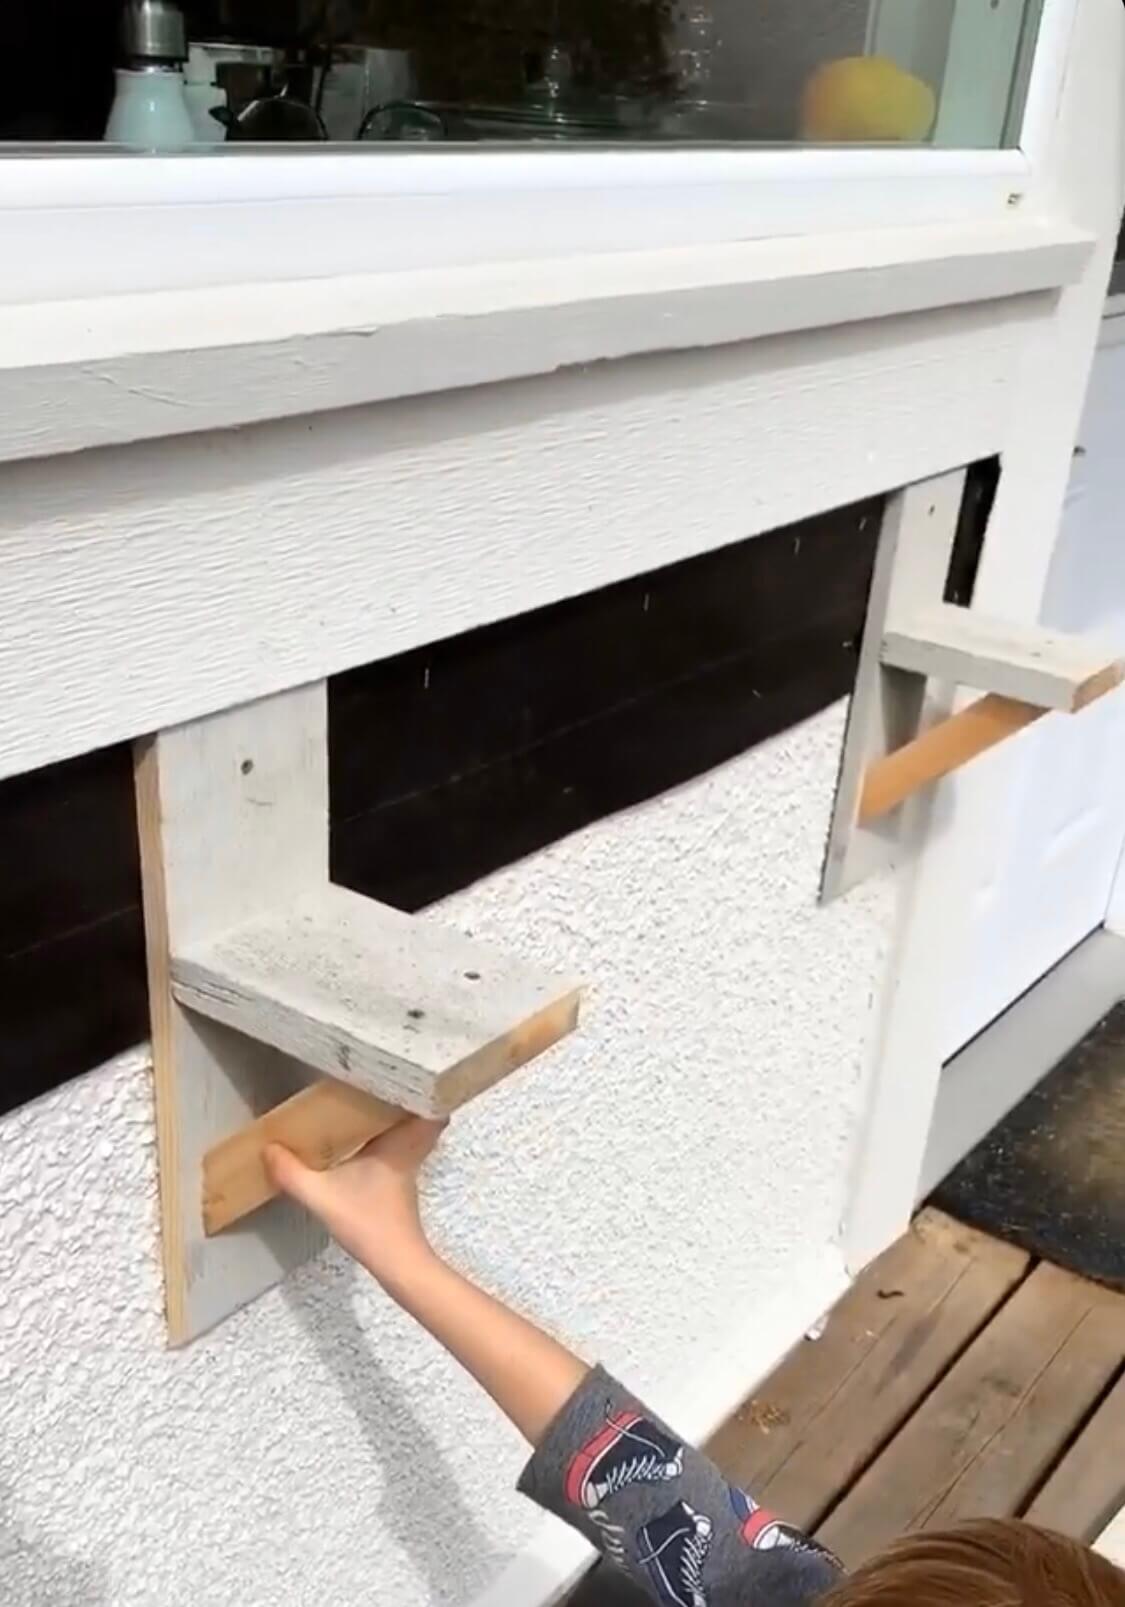
- Prep the siding of your home: I used primed fascia material as well as cedar 2×4 creating a strong base that I then installed securely to the wall under the window. If you want a quicker and easier solution or don’t like the look of the knee braces you can buy large L brackets and secure them to the house and then sit the box on top of those.
- Cut the bottom, back, and front pieces to length (again this will be 2-3” past the frame of the window)
- Glue and nail or screw them together.
- Add the ends
- Once box is assembled, add supports on the inside corner to reinforce the structure
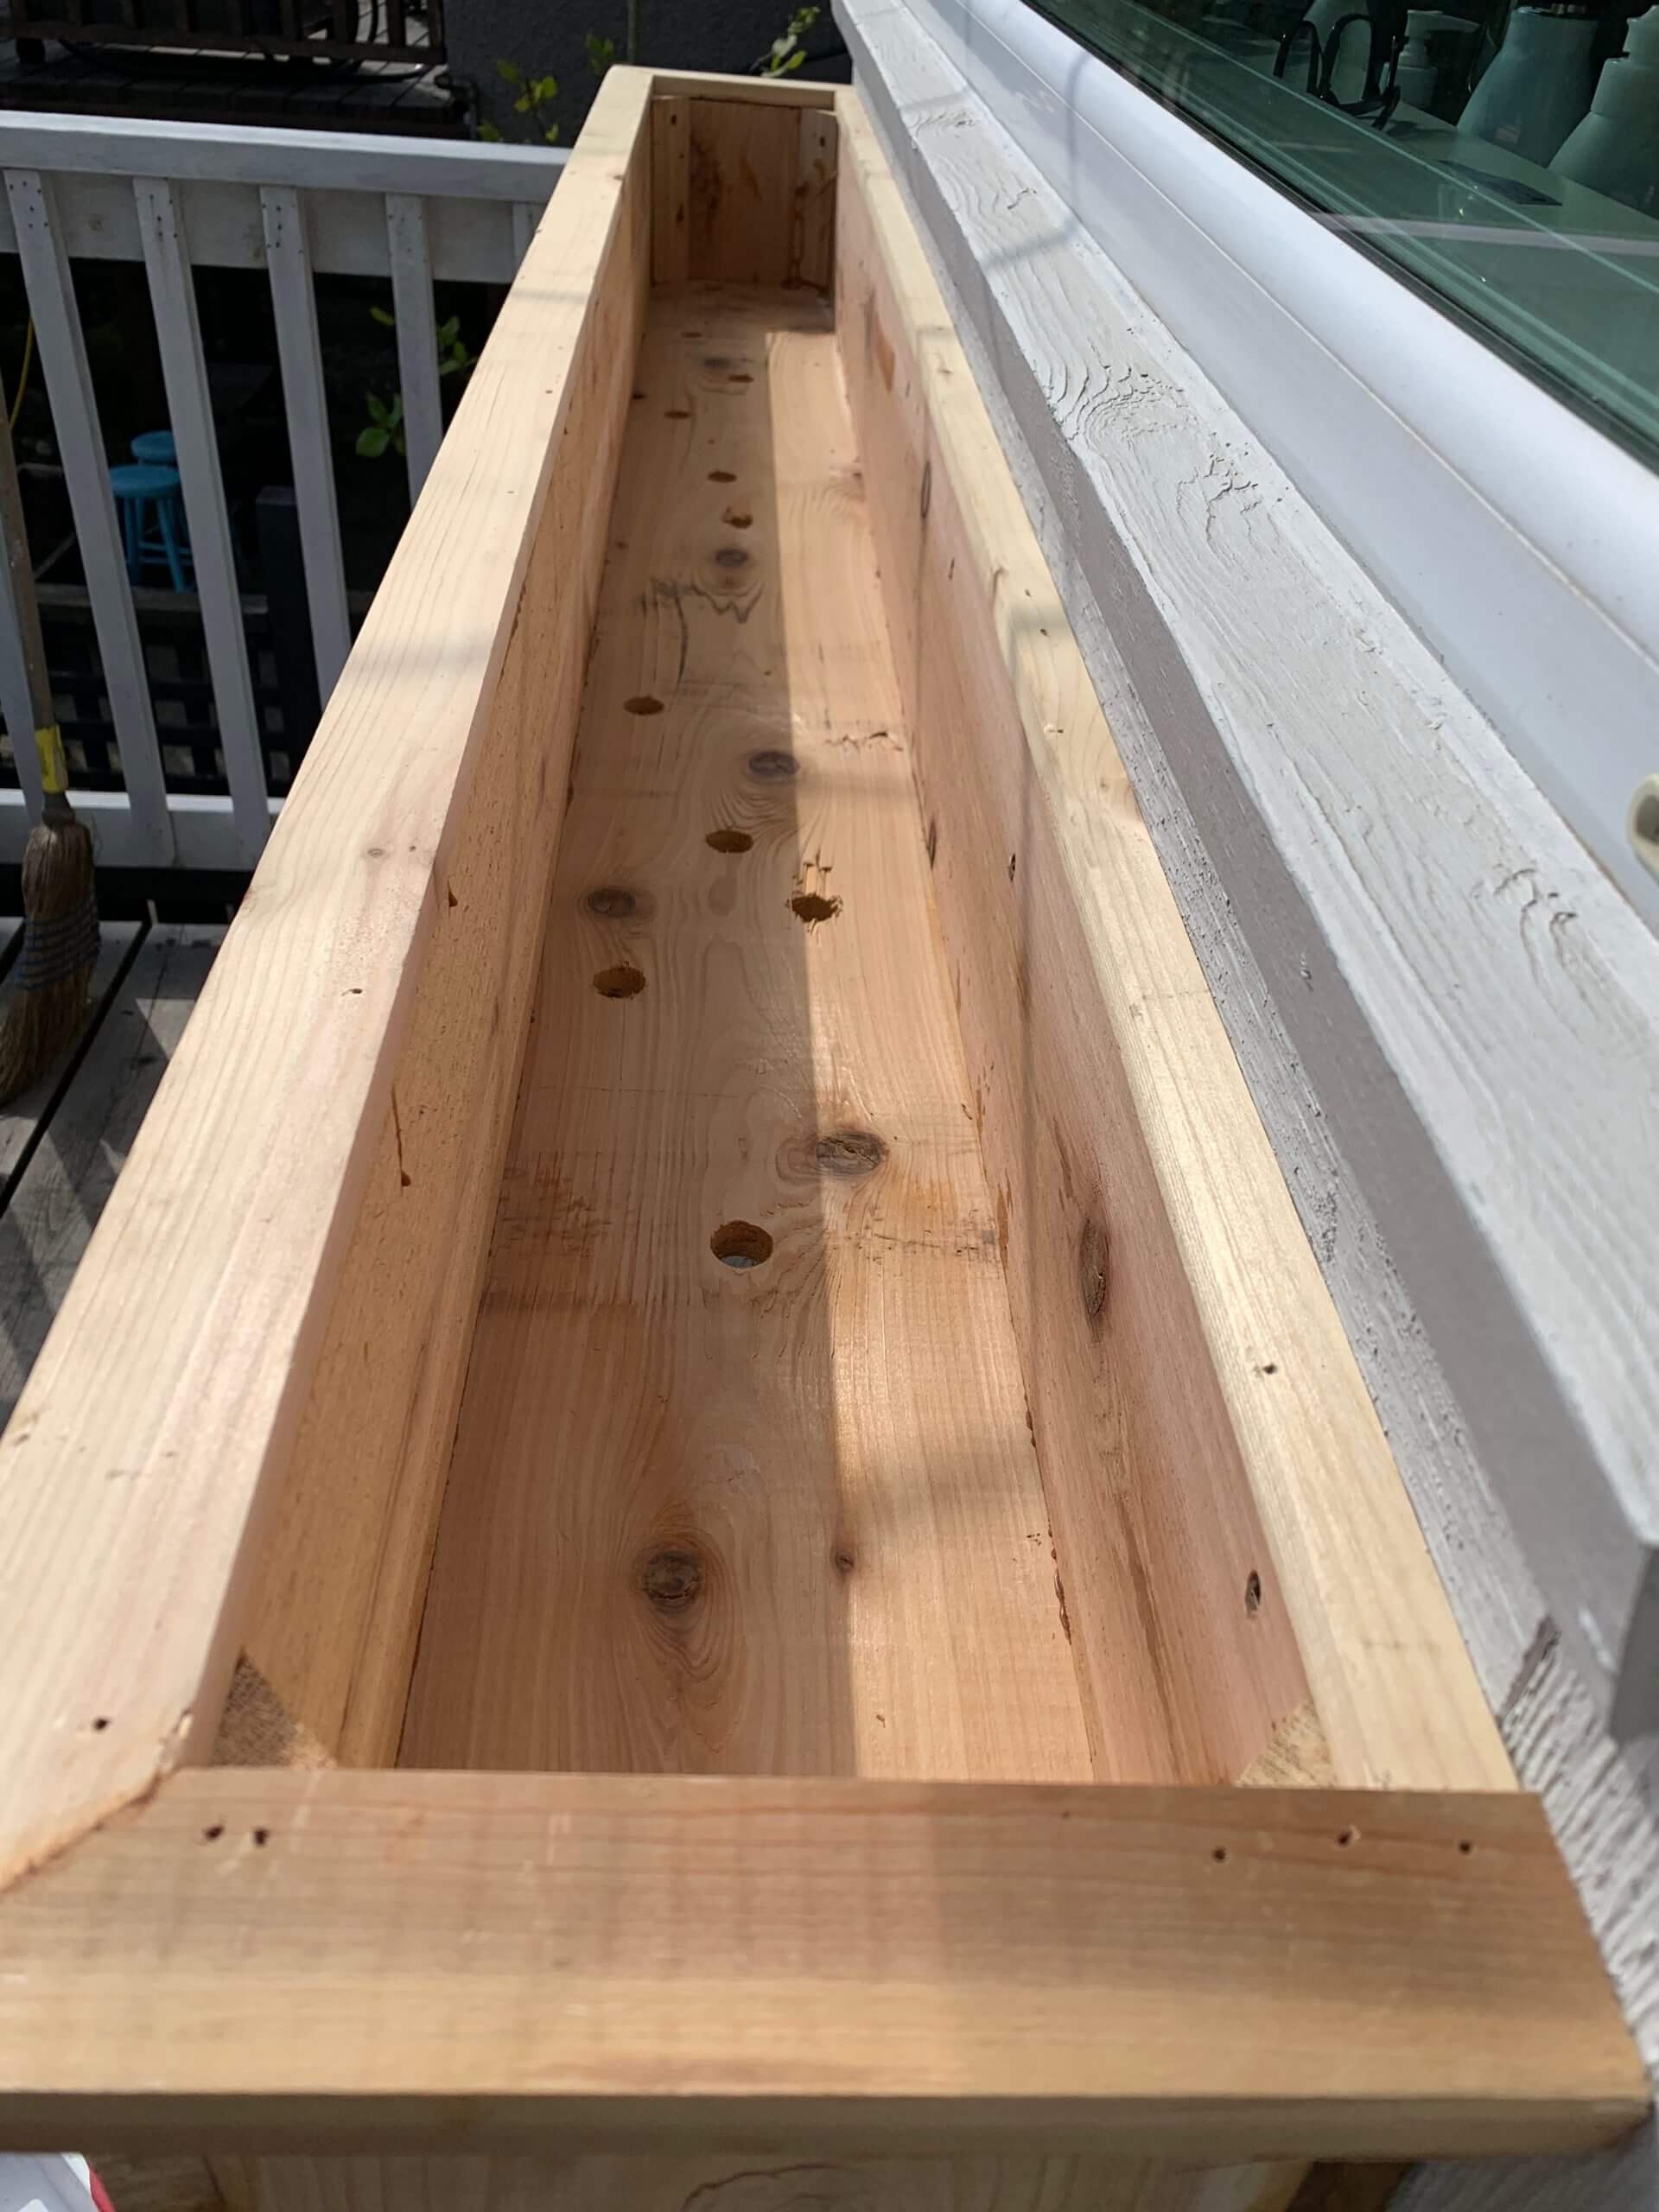
- Add the top trim on the front and sides only as the back will butt against the wall of the house.
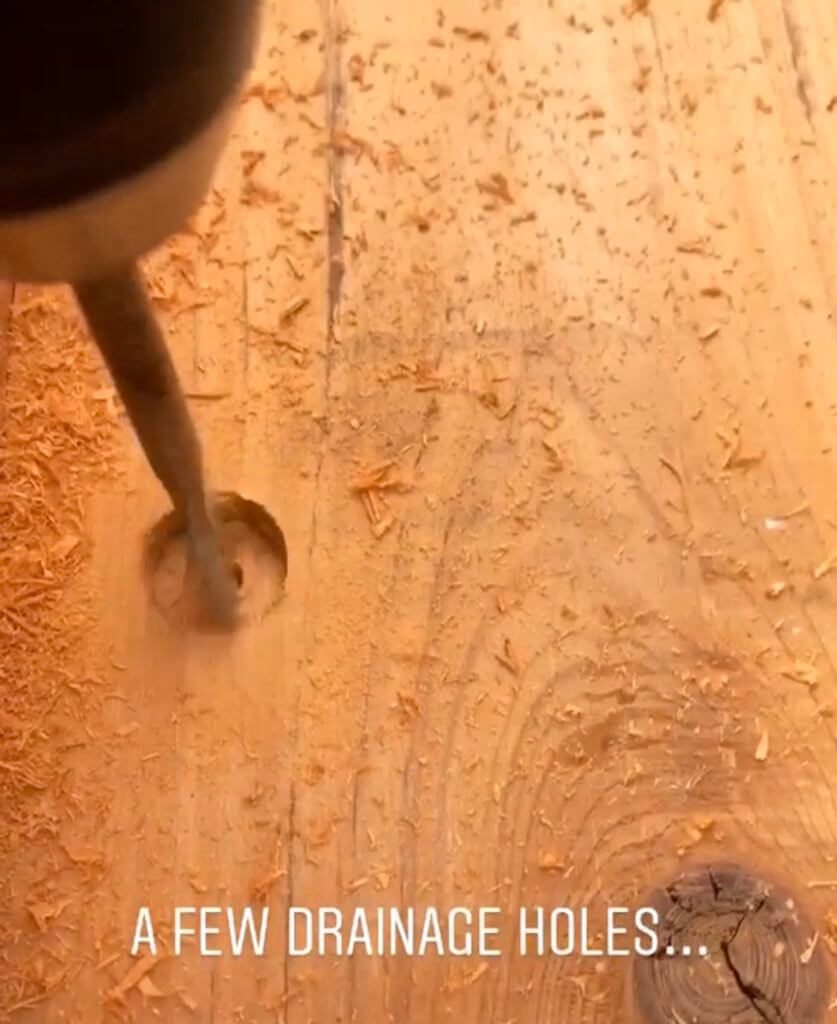
- Lastly drill 1-2” holes in the bottom for drainage. TIP! Drill from the top down, but not all the way through or else with the wood will crack. Drill about ¾’s of the way through and then from the bottom up in the same spot finish it off.
Tips of the Trade:
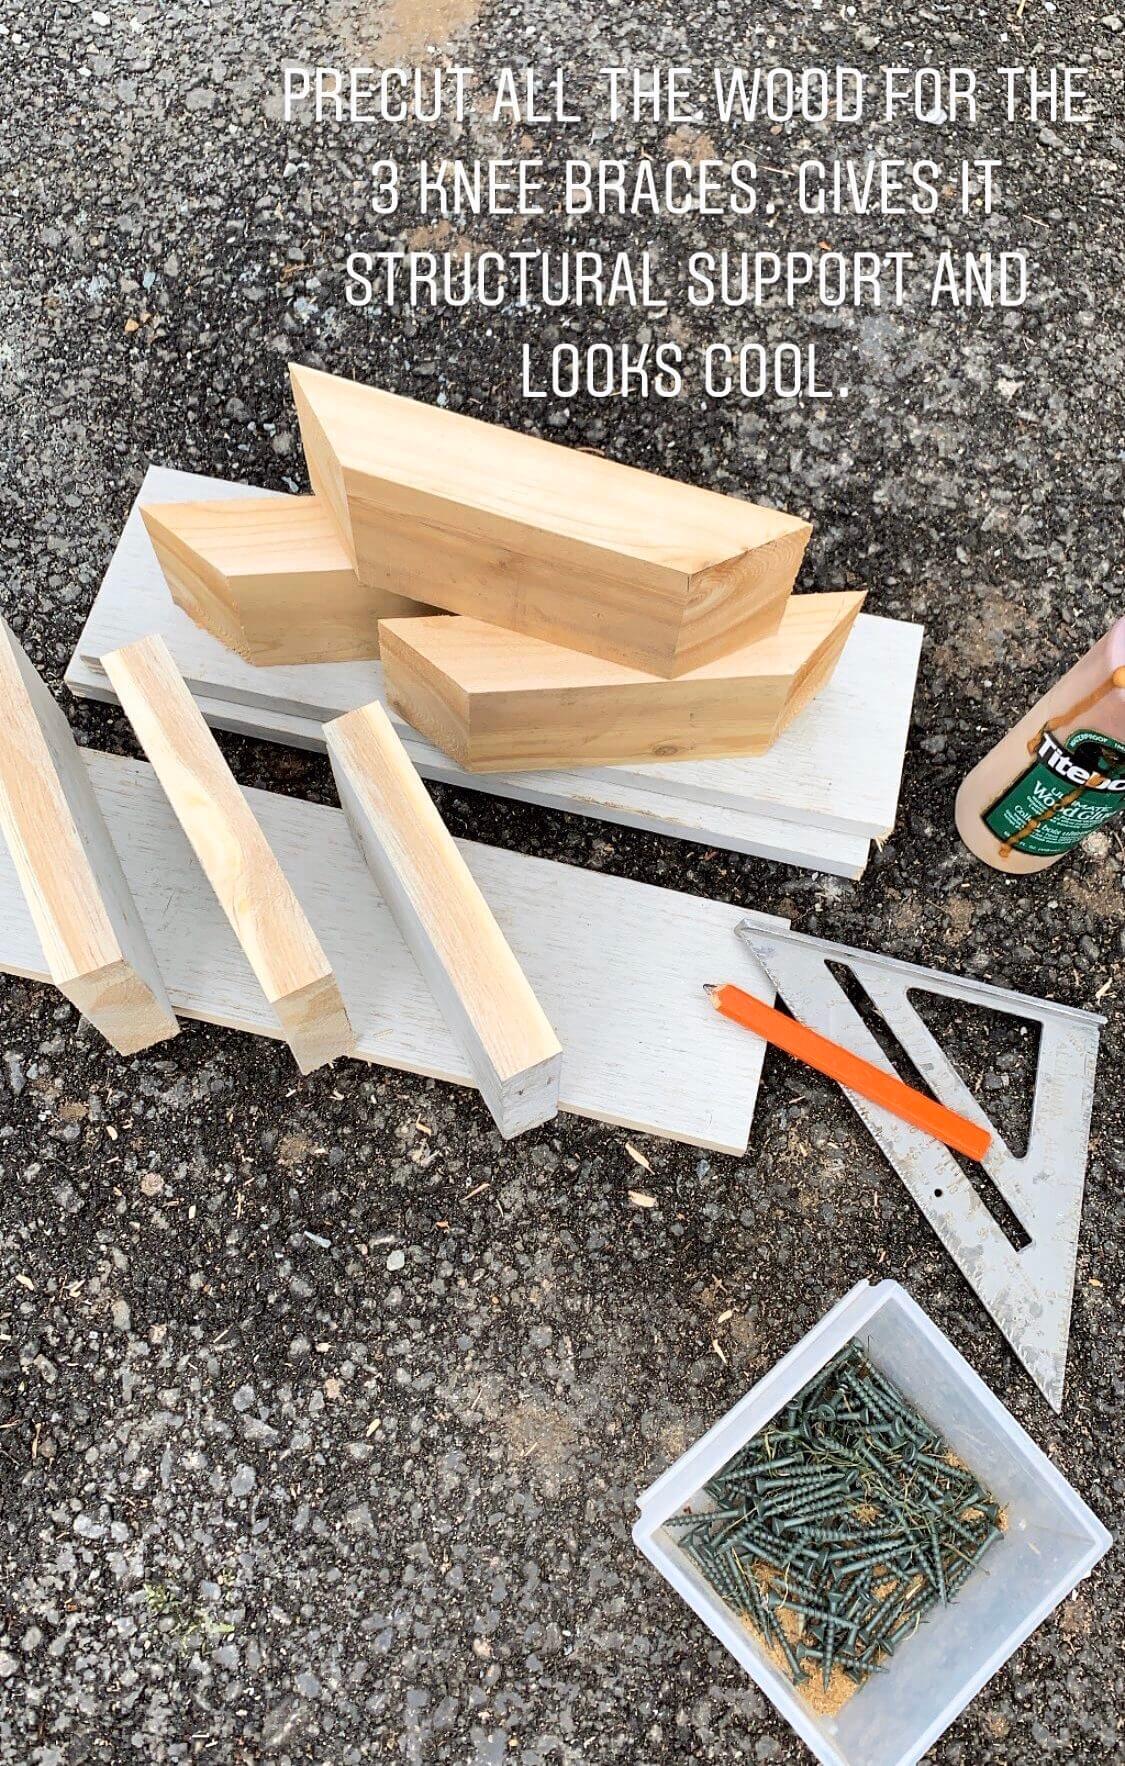
The trickier part of a window box is the knee braces under it. These are not only for aesthetic purposes — but also very important to support the weight of the box. With all the dirt, plants and drainage, it can get pretty heavy!
Once that is complete (and level) you can easily sit the window box on top of the braces with a few screws into the braces and a couple screws to the wall to stop the planter box from sliding forward.
Once the box is installed under the window, add small gravel for drainage (super important!) and place landscaping cloth over top so the dirt doesn’t drain through.
You can leave the cedar as is for a rustic look, however the natural cedar will weather over time to a silver-gray colour. I’d suggest applying a stain for a protective finish within 2 weeks of assembly (weather permitting) to provide the best results for aesthetics and longevity.
I primed mine first and then chose to paint it the same colour as our trim and house so it blends in and leaves it up to the beautiful flowers to add the pop of colour!
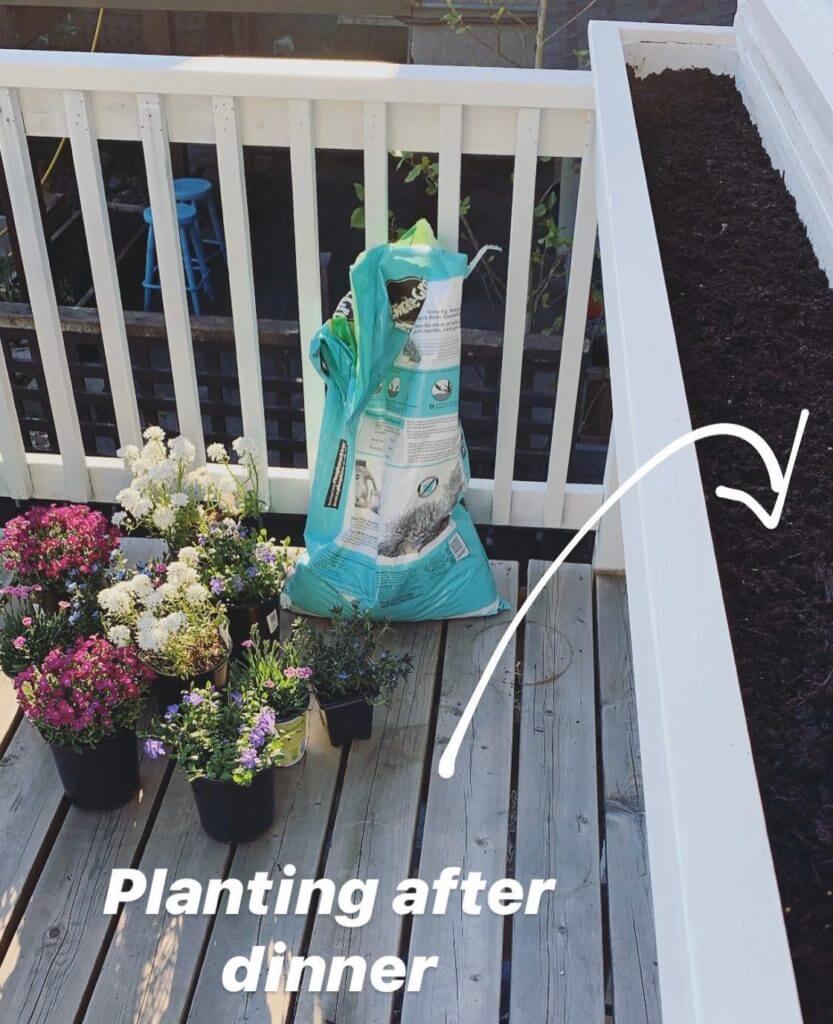
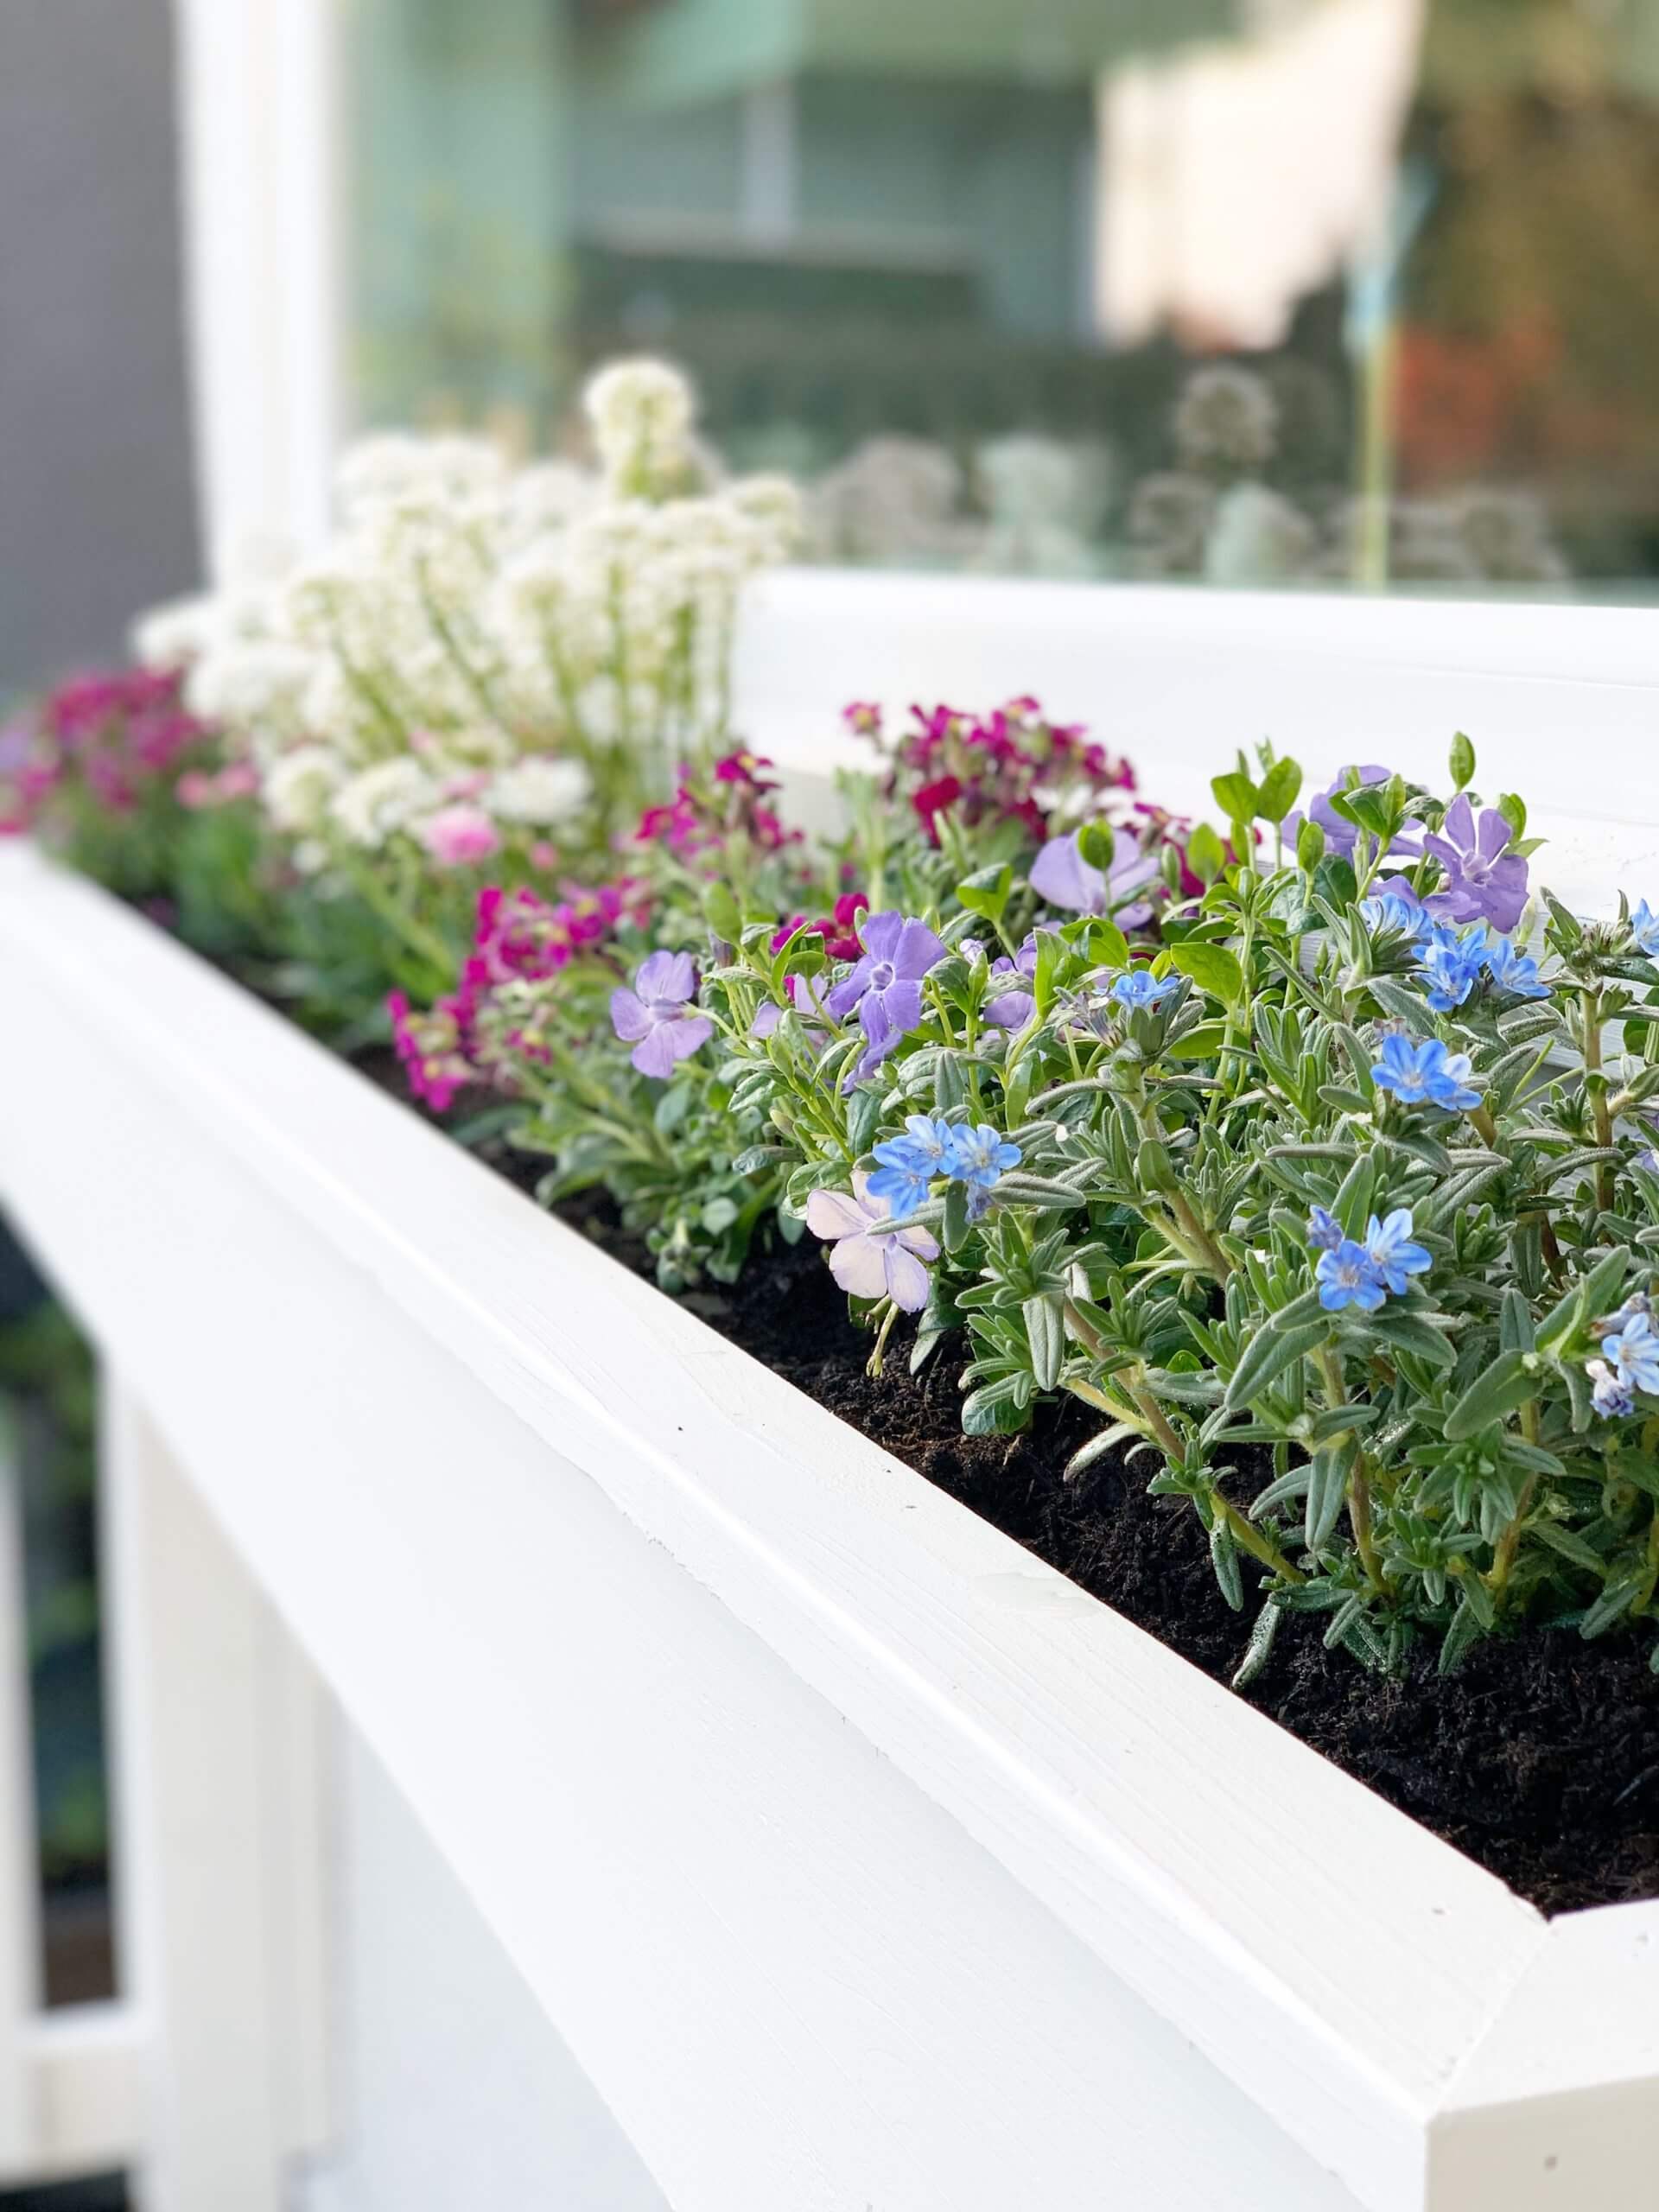
Last step, fill it with dirt and plants and voila!
I’m disproportionately proud of my new window box. Maybe midlife crisis… maybe quarantine fever but I think it’s pretty good….if I do say so myself.
Good luck with your own window box project! We’d love to see your finished handy work- snap a photo and tag us!

Stay healthy!
-TT
From the archives: Todd’s Incredible Storage in His Master Bathroom.